Workspace Organization: Project Planning
Complete this plan individually during Class 1 in the regular classroom. There is no fabrication today.
Return to the Project Overview whenever you need to check the full requirements.
1. Define the problem
Identify:
- the intended user;
- the workspace and organization problem;
- at least three items or categories that need organizing;
- how the current problem affects access, storage, safety, or efficient use of space.
2. Investigate existing solutions
Research at least two relevant products or systems. Save the sources and useful visual references.
| Existing solution | Effective features | Limitations | Idea worth considering |
|---|---|---|---|
Example directions and optional components
These examples are inspiration, not templates to copy. Notice how the main structures use ordinary classroom materials. Select only the features and processes that solve your user’s problem.
Optional processes
3D printing and vacuum forming are not required. A strong organizer can be completed without either process. If you use one, keep the component small, functional, and justified by the design.
Small 3D-printed functional parts
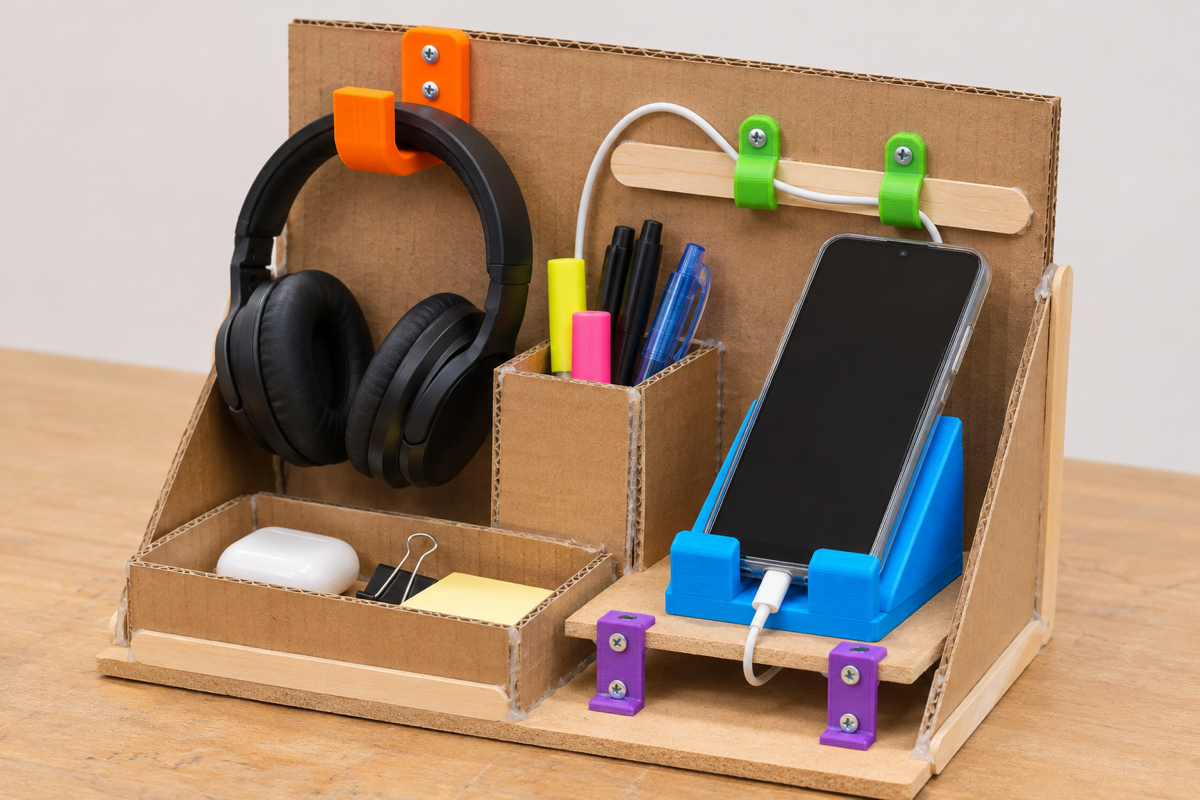
The main organizer uses cardboard, MDF, and craft sticks. Small 3D-printed parts add a headphone hook, phone cradle, cable clips, and connector brackets.
Vacuum-formed tray
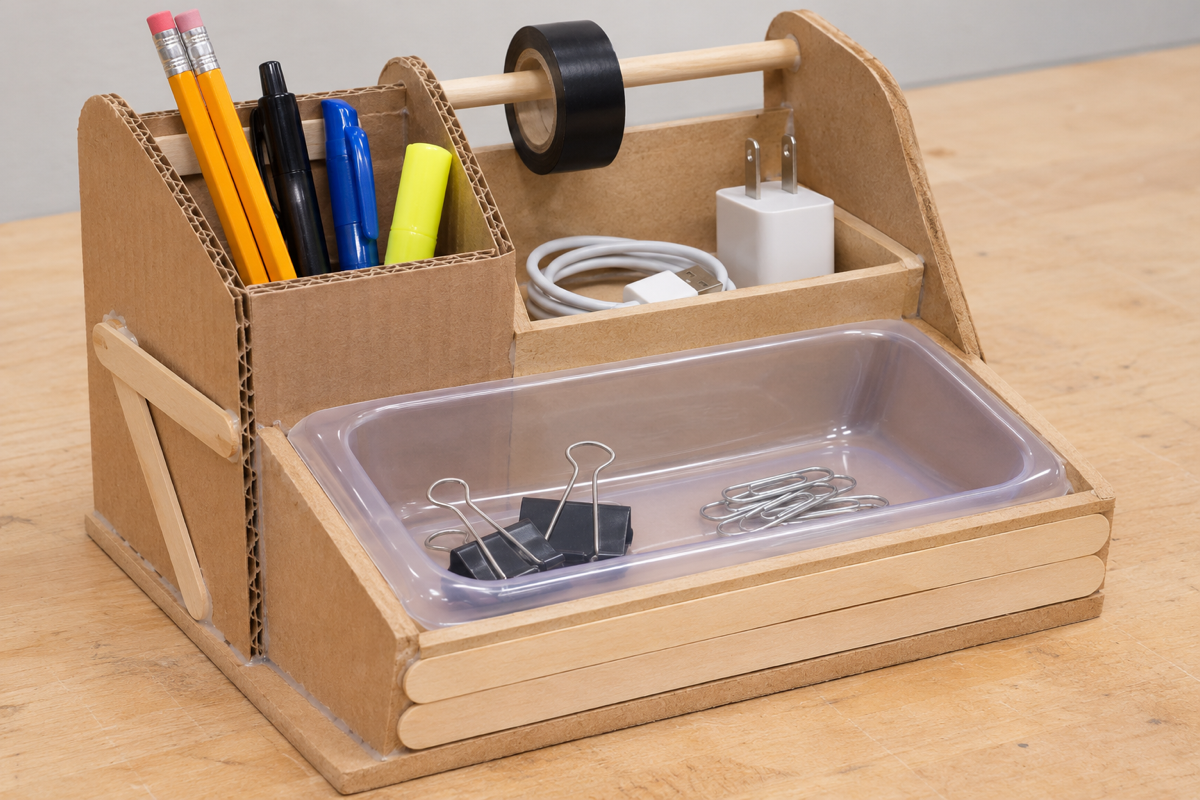
A shallow vacuum-formed plastic tray creates a smooth fitted area for small items. The surrounding structure still uses cardboard, MDF, craft sticks, and dowels.
Mixed manufacturing methods
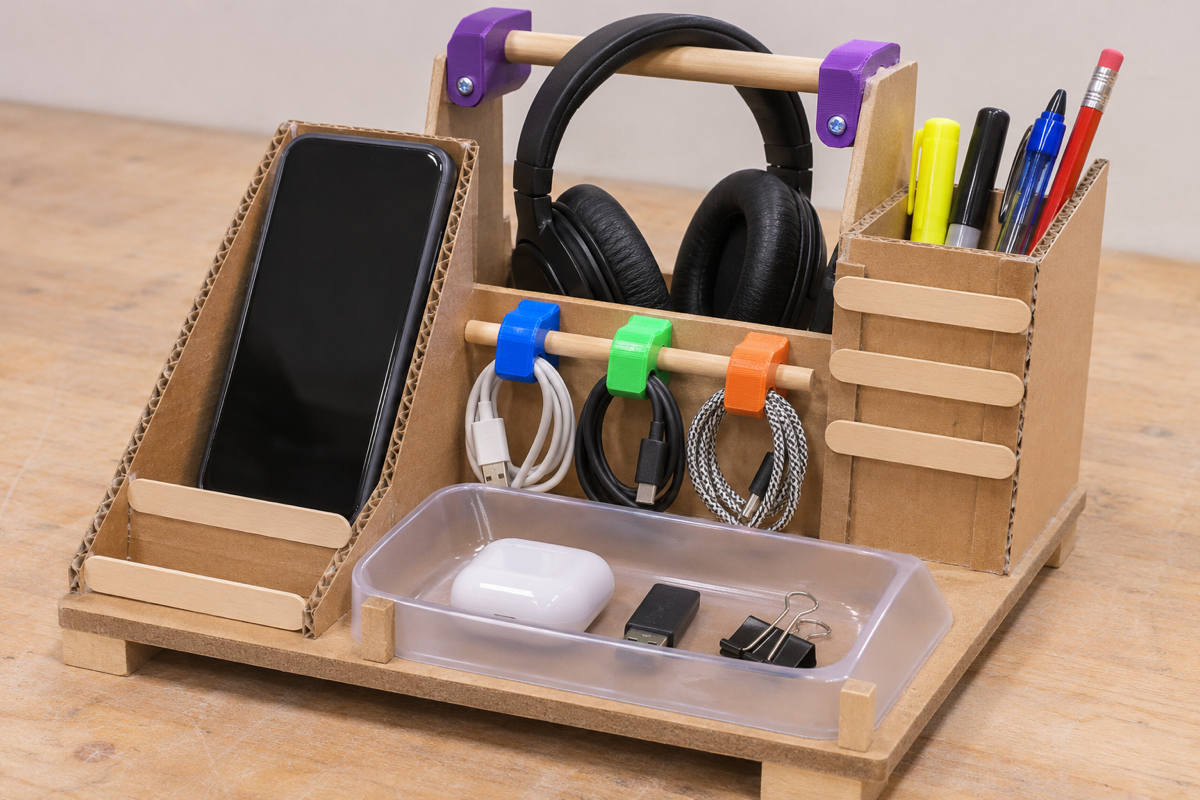
This example combines small 3D-printed cable clips and brackets with one vacuum-formed tray. The optional parts support—not replace—the main structure.
Possible functional sections include:
- headphone hook or stand;
- phone stand with charging-cable access;
- pen, marker, or tool compartments;
- cable clips or channels;
- small-parts tray;
- drawer dividers;
- modular or adjustable compartments.
3. Develop two concepts
Create two genuinely different design concepts. Each concept should consider:
- where each item will be stored;
- how items will be identified, retrieved, and returned;
- stability and durability;
- the available workspace;
- possible materials and fabrication methods.
4. Select and justify
Compare both concepts. Select the stronger option and explain why it better addresses the user’s needs and project constraints.
5. Create an annotated technical sketch
Include:
- top, front, or side views as needed;
- overall length, width, and height;
- important compartment or component dimensions;
- labels for stored items;
- intended materials;
- notes explaining joints, supports, holders, or moving parts.
Keep the footprint within approximately 30 × 30 cm, unless otherwise approved.
6. Choose materials and methods
Use a purposeful combination of at least two materials and/or fabrication techniques.
No particular process is required. Cardboard, MDF, craft sticks, dowels, tape, hot glue, hand tools, 3D printing, and vacuum forming are options—not a checklist. Explain why each choice suits the design.
| Component | Material | Fabrication method | Reason for the choice |
|---|---|---|---|
7. Establish success criteria
Write at least three measurable or observable criteria suited to your organizer. Consider:
- storage capacity;
- stability;
- ease of identifying, retrieving, and returning items;
- efficient use of workspace;
- fit, strength, or durability.
8. Plan construction
List the main construction steps in a sensible order. Identify a likely challenge and a prevention or backup strategy.
Ready to build
Another person should be able to understand what you will build, why it should work, what you will use, and how you will begin.
Class 1 evidence
- User, problem, and items clearly identified
- Two researched solutions with sources
- Two distinct concepts
- Selected concept justified
- Annotated sketch with dimensions
- At least three success criteria
- Materials, methods, and construction sequence
- Individual Notion entry complete